How to start with Orange Developer
Published: January 12, 2026
This page allows you to get familiar with the Orange Developer website, so that you can subscribe to and easily integrate an API. To do so, follow the steps described below.
Discover our catalog
The Orange Developer website presents all APIs published by the Orange Group. You can explore the full range of APIs to identify the product that best meets your requirements. Each API product features:
- an overview, outlining its usage and potential use cases, the geographical area where it is available,…
- a Getting Started section, including instructions for testing and utilizing the API,
- the Open API (Swagger) reference documentation to facilitate seamless integration.
- Other types of information, depending on the API: an FAQ, specific Terms and conditions, release logs…
Choose your API
- Click the arrow next to Products in the menu at the top of the page. The Products menu appears:

- Click an API. You reach the Overview of this API:
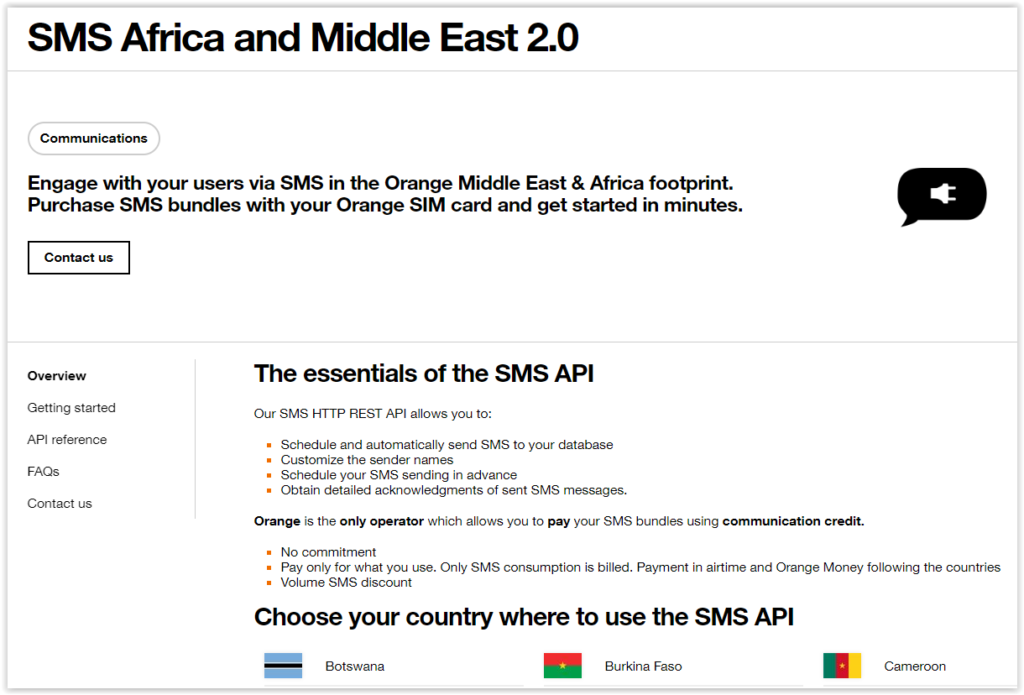
In this guide, we will take the SMS API as an example.

- As described in the Overview, choose the country for which you want to integrate the API. You reach the following page:
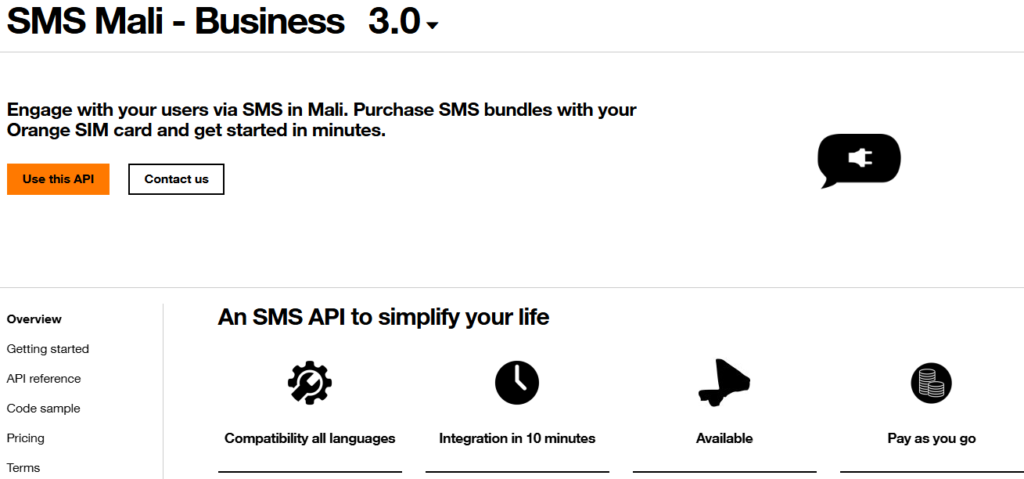
On the left-hand menu, you can access the Getting Started guide, the API Reference, etc.
- Click Use this API in the top menu. You are redirected to the Log in / Register page:
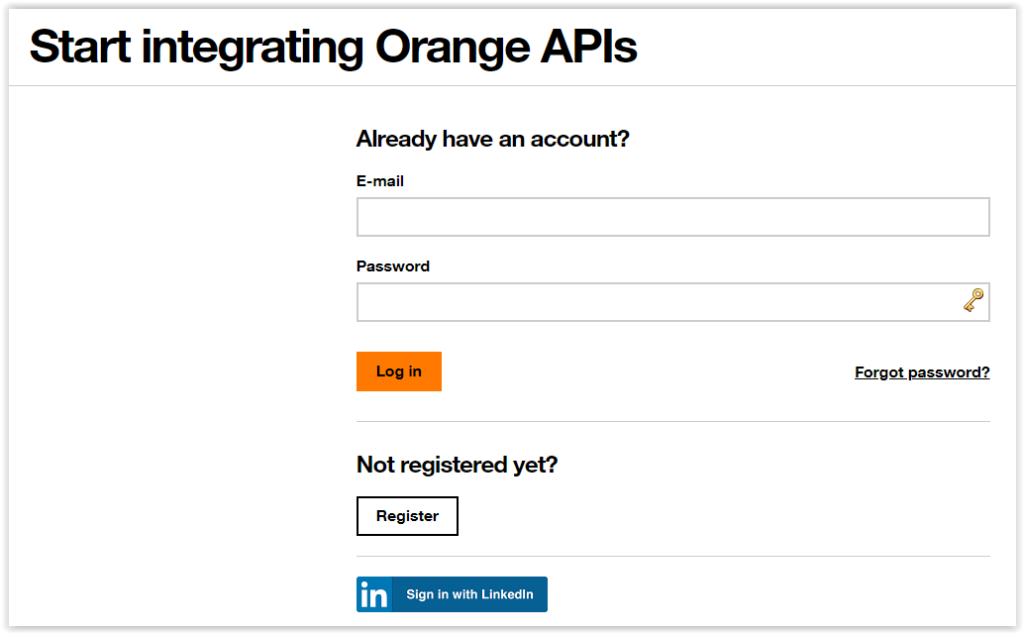
Create an account
If you already have an account:
- Specify:
- your e-mail address,
- your password,
- click Submit. You are redirected to the MyApps dashboard.
If you do not have an account yet:
- Click Register. The account creation page appears:
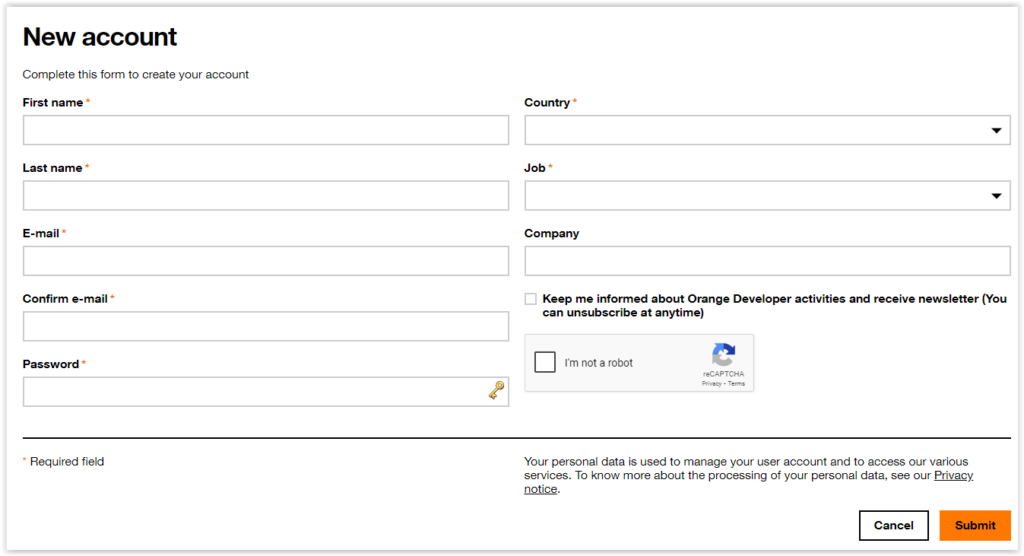
- Fill in all necessary fields and click Submit.
Make sure you use the same e-mail address throughout the whole process
The following confirmation message appears:

- Click the link inserted in the mail you have just received:
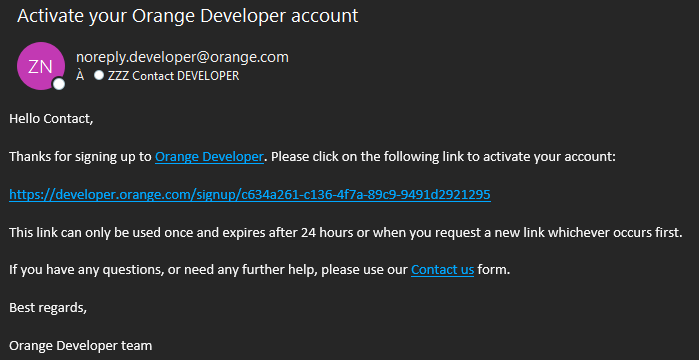
Your Orange Developer account is activated and fully functional. You now need to create an application, as described below.
Create an application
- In MyApps, in section Create a new application, enter:
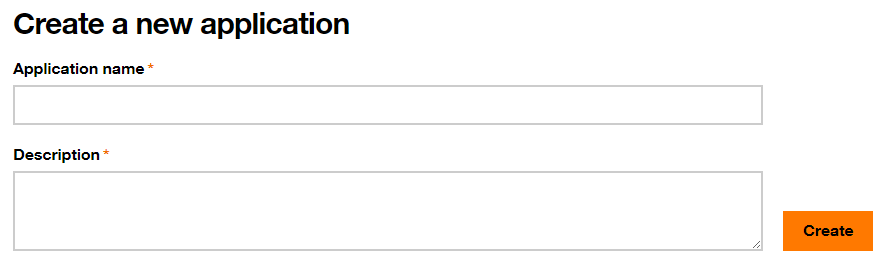
- The Application name
- A description for your application
- Click Create. Your application is created.
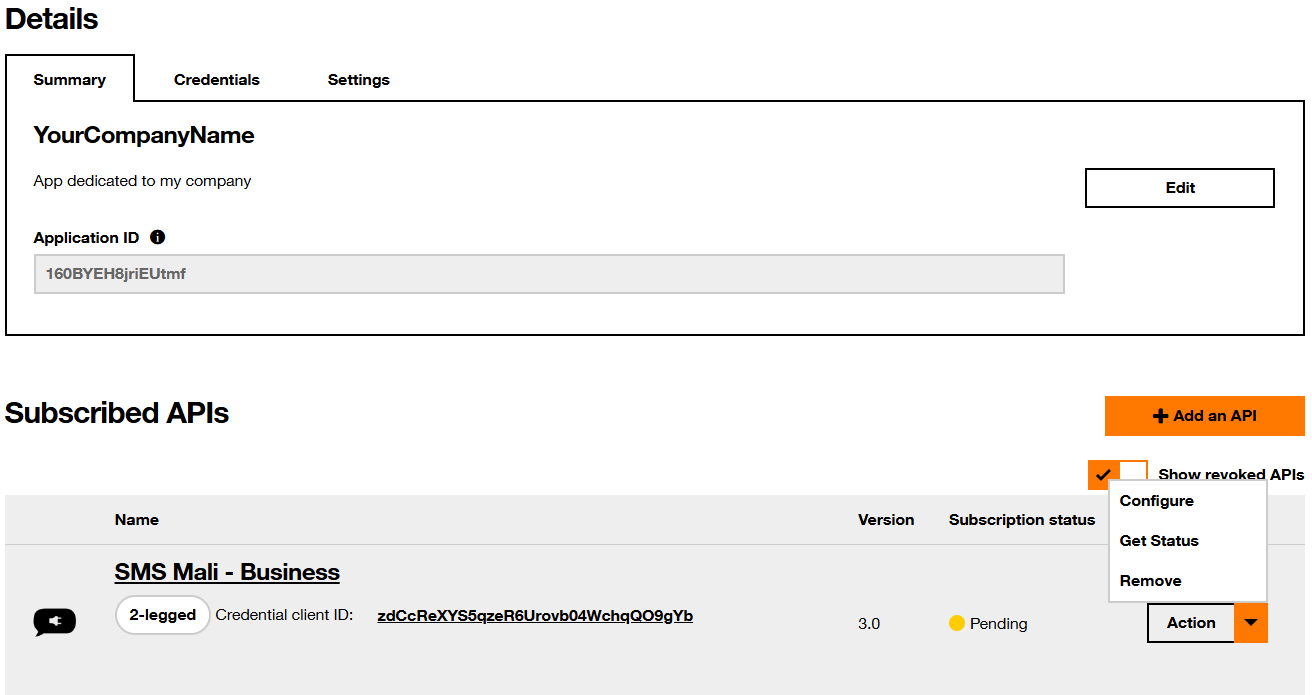
Once your application is created, you have access to:
- In tab Summary: your application ID
- In tab Credentials: your Client ID and Client Secret
- In tab Settings: the settings applicable to your application
- The list of APIs, to which you have requested to subscribe
- A menu to configure, get status and remove an API
Obtain your access token
In the Credentials tab:
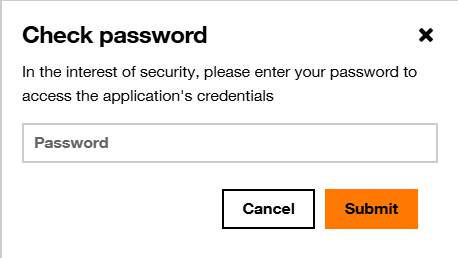
- Click Show
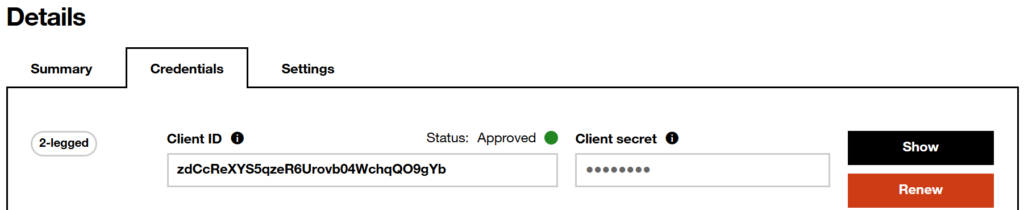
- Enter the password of your Orange Developer account when prompted
- Copy the content of fields Client ID, Client secret and Authorization header
From now on, you may use your favorite IDE tool and proceed so that the information below is properly taken into account

- Enter the information provided in the cURL code below:
curl -X POST
-H "Authorization: {authorization_header}"
-H "Content-Type: application/x-www-form-urlencoded"
-H "Accept:application/json"
-d "grant_type=client_credentials"
https://api.orange.com/oauth/v3/tokenCode language: JavaScript (javascript)- Replace {authorization_header} with your own header info. The code should look like:
curl -X POST
-H "Authorization: Basic emRDY1JlWFlTNXF6ZVI2VXJvdmIwN....nWWI6bkpURXlyUkoxaFFYUEc1UQ=="
-H "Content-Type: application/x-www-form-urlencoded"
-H "Accept:application/json"
-d "grant_type=client_credentials"
https://api.orange.com/oauth/v3/tokenCode language: JavaScript (javascript)- Send your request. The token appears in the query response, such as shown below:
{ "token_type": "Bearer", "access_token": "eyJO 5SLvVOk3E....AA1iUFJGcG2GQe", "expires_in": 3600 }Code language: JSON / JSON with Comments (json)This token is used for all APIs you want to connect to. For more information on using the access token, see the guides In a nutshell in section Recommended for you below.
Consume an API
- In your IDE, enter your token information:
-H "Authorization: Bearer {access_token}"Code language: JavaScript (javascript)- Then use an API request. In our example:
curl -X POST -H "Authorization: Bearer {{access_token}}" \
-H "Content-Type: application/json" \
-d '{"outboundSMSMessageRequest":{ \
"address": "tel:+{{recipient_phone_number}}", \
"senderAddress":"tel:+{{country_sender_number}}", \
"outboundSMSTextMessage":{ \
"message": "Hello!" \
} \
} \
}' \
"https://api.orange.com/smsmessaging/v1/outbound/tel%3A%2B{{country_sender_number}}/requests"
Code language: JavaScript (javascript)- You receive the following answer:
HTTP/1.1 200 OK
Content-Type: application/json; charset=UTF-8
[
{
"outboundSMSMessageRequest": {
"address": "tel:+00",
"outboundSMSTextMessage": {
"message": "AAAAAA"
},
"senderAddress": "tel:+00",
"senderName": "string"
}
}
]Code language: JavaScript (javascript)